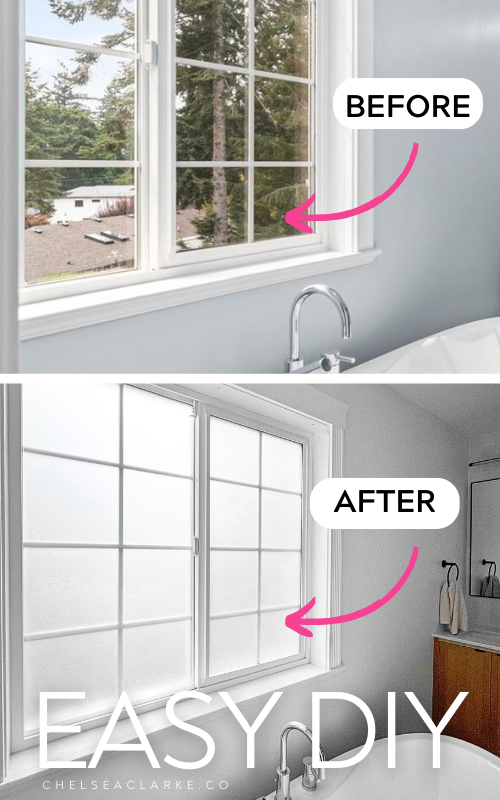
How To Apply Privacy Window Film To Make Windows Private
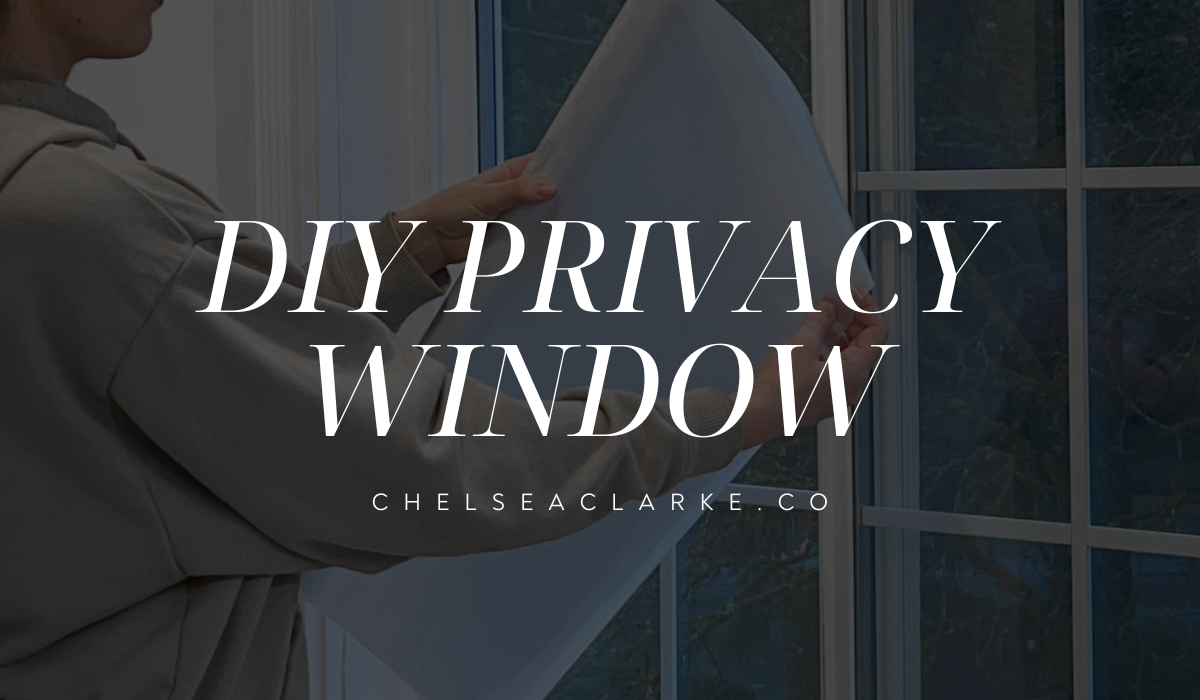
Today I’m going to show you how to apply privacy window film, to make windows private.
Do you have a bathroom window that was installed without privacy glass? Are you worried you’ll have to replace the whole window and spend thousands of dollars?
Well, I have some great news for you: you can make windows private with cost-effective privacy window film, which costs less than $20!
Make sure you get my home decorating book, which includes bonus resources to help you style your home like an absolute pro - yours FREE today! 
As an affiliate partner of various brands and sponsored content, we may earn commission on qualifying purchases. Disclaimer | Advertise With Us
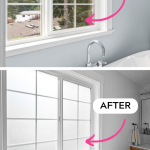
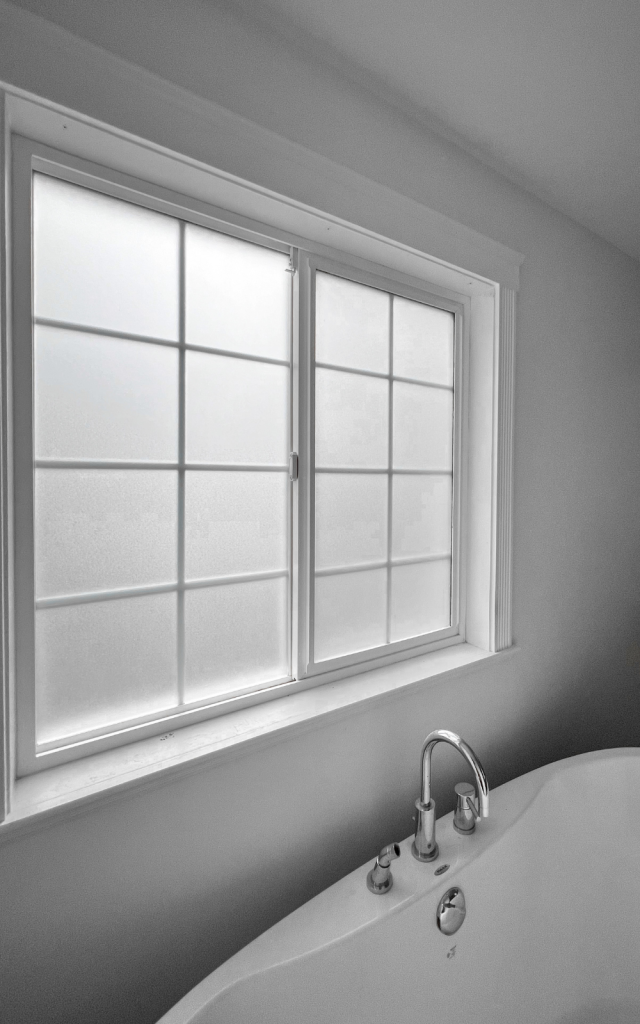
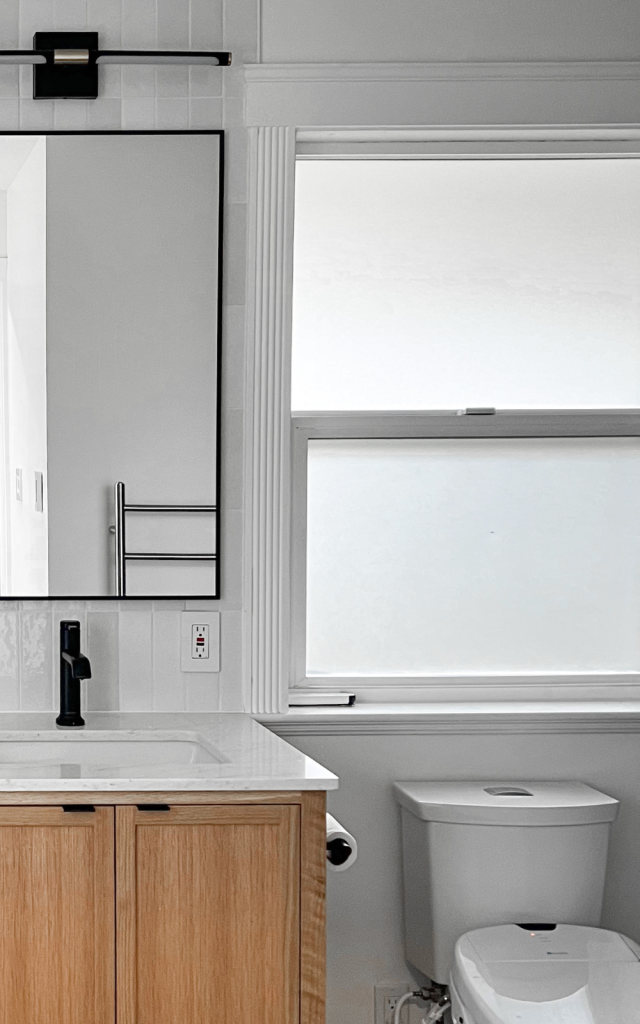
It’s true! I just made my bathroom windows private with stick-on film, and they turned out so good. You’d never know it was a sticker film, it just looks like regular frosted privacy glass.
In this article, I will walk you through the step-by-step process to apply privacy window film yourself. This easy DIY tutorial has you covered.
Step 1: Measure The Film and Prepare The Windows
The first step is to order some frosted window film. I purchased this brand, and can highly recommend it.
Since doing this project 3 months have gone by, and the film hasn’t budged from my windows and doesn’t appear to be going anywhere anytime soon.
Once you have your film, measure your window and then thoroughly clean the windows with glass cleaner or TSP to remove all dust.

- Top Privacy, Soft Light: Enjoy complete seclusion without sacrificing sunlight. Our film creates a frosted white wall effect, instantly blurring outdoor views for bathrooms and bedrooms. It bathes your room in a soft, natural glow, eliminating the need for gloomy curtains
Cut your window film sticker to the size of your window, ensuring that you leave an extra 1″ margin on each side (you will cut it off later).
Step 2: Spray Lots Of Water On The Window and Film
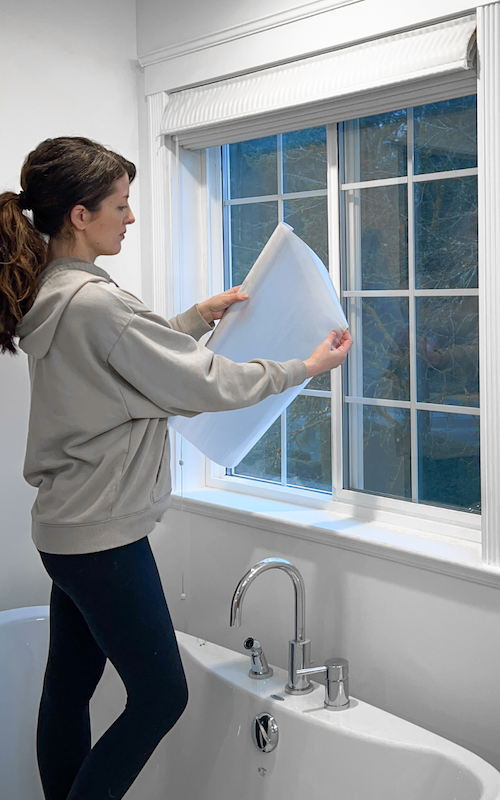
Spray the window with water, and peel the transparent backing layer off the privacy film. Spray the side you will place on the window with water, and then place it on the window.
Starting at the top, place the film on the window and use your hands to smooth the film to the window in place.
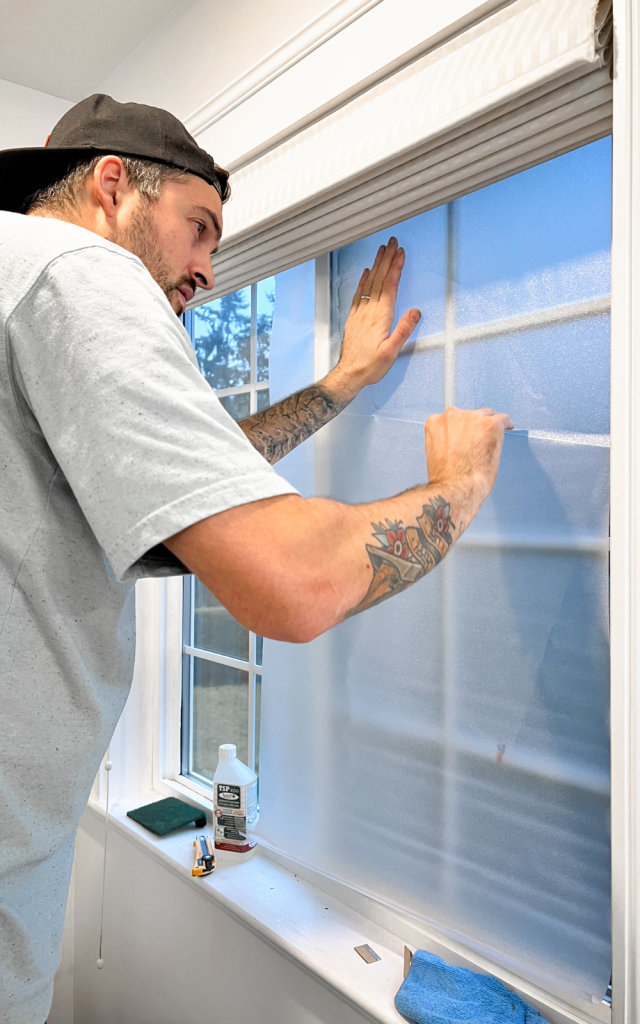
Step 3: Slide the Air Bubbles Out
To get the air bubbles and excess water out, use a flat surface to slowly “squeegee” down the window carefully and firmly. We used a credit card for this and it worked well.
You will want to have a towel at the bottom of the window to remove the water.
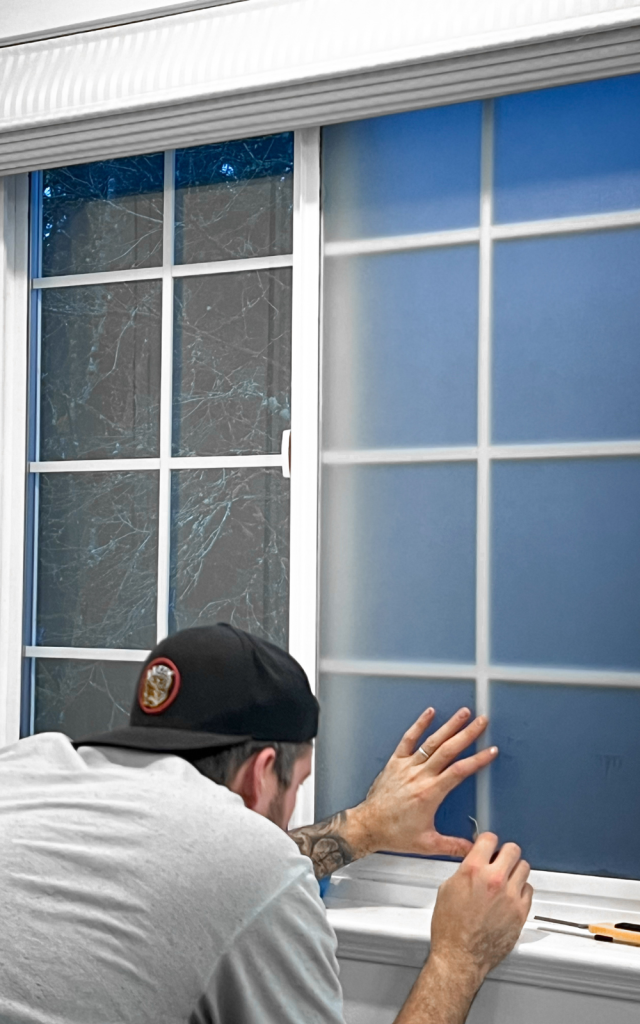
Step 4: Trim The Edges With A Utility Knife
Finally, once all the air bubbles are gone, carefully use a utility knife to cut the excess edges off the film.
That’s it! So easy!
No need for curtains, this bathroom is privacy-proof thanks to these handy DIY privacy window film stickers.
Check the price of the ones I used here.

- Top Privacy, Soft Light: Enjoy complete seclusion without sacrificing sunlight. Our film creates a frosted white wall effect, instantly blurring outdoor views for bathrooms and bedrooms. It bathes your room in a soft, natural glow, eliminating the need for gloomy curtains
- 99% UV Blocking & Furniture Guard: Go beyond privacy. This film is your invisible sunscreen, blocking over 99% of harmful UV rays. This proven protection prevents fading of your expensive furniture, floors, and artwork, preserving your home’s beauty and value
How To Apply Privacy Window Film To Make Windows Private – Conclusion
As you can see, this is an easy DIY project that makes such a big difference in a bathroom.
What do you think? Did you try it after reading this guide? Let me know in the comments how your privacy windows turned out.
Take a look at my favorite bathroom accessories here, check out more of my Amazon finds, and follow me on TikTok below:
@chelseaclarke.co Its a good day for you to do my DIY ideas, don’t ya think? (Its do it YOURSELF not MYSELF) Here’s the 411 gals. I wrote a list of all the home updates my husband has been meaning to get to / projects he started and hasn’t finsihed yet, etc, and I realized that if its ever going to get done, I need to enforce it…so here we go! This is day one of getting my husband to compete all the renovations and projects around the house, as we work through this massive to-do list. Wish him luck 🥴 #renovatehouse #renovationseries #homeupgrades #homeimprovement #diytiktok #diyproject #husbandwifecomedy #todolist #productivity #cozyathome ♬ original sound – Chelsea Clarke | Home & Style