How to Clean Your House [Cleaning Schedule Checklist]
Cleaning the house can feel like a never-ending battle, right? One minute you’ve got everything looking decent, and the next, it’s like a tornado of dust bunnies, crumbs, and random clutter has hit every room. But hey, what if there was a way to get that “just professionally cleaned” vibe without actually hiring anyone? Imagine walking into a room that’s fresh, organized, and (gasp!) stays that way for more than a day.
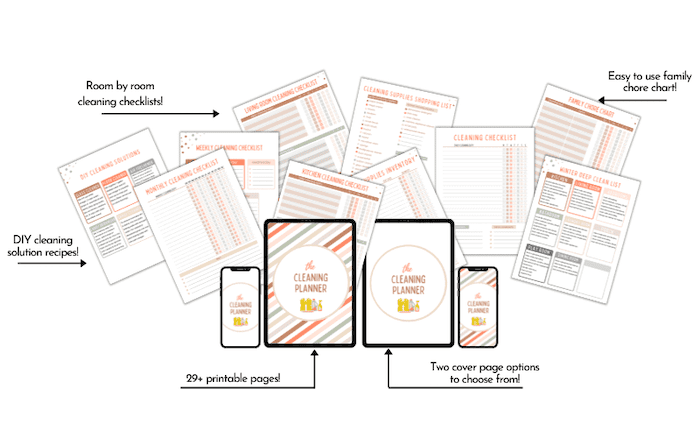
In this guide, I’m breaking down all the pro tips you need to clean smarter, not harder. Whether you’re tackling the dreaded bathroom or just trying to get the living room back to non-disaster status, these tips will help you get it done fast and keep it looking good longer. Plus, you can get a free copy of my Weekly Cleaning Schedule Checklist – below!
Clean Your House Like a Pro: Expert Tips for a Spotless Home
Wondering how to clean your house? First off, having effective products that actually work are essential to clean your house properly. Second, to be efficient with your time and energy, the order you do things also matters.
Make sure you get my home decorating book, which includes bonus resources to help you style your home like an absolute pro - yours FREE today!
As an affiliate partner of various brands and sponsored content, we may earn commission on qualifying purchases. Disclaimer | Advertise With Us
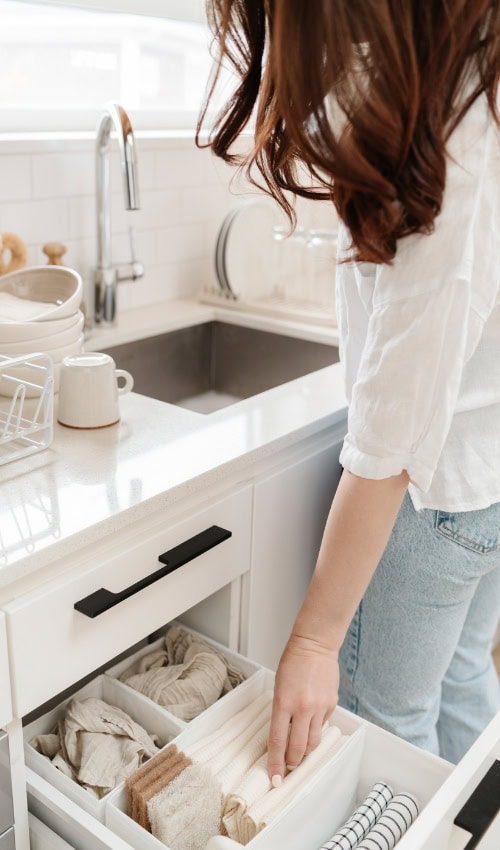
My cleaning arsenal consists of a few DIY solutions and a couple of staples that I have come to trust with my asthmatic lungs.
But first, get your copy of my Weekly Cleaning Schedule Checklist:
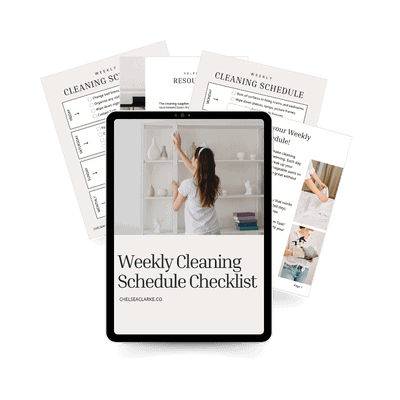
Now let’s get to it, because I promise, the satisfaction of a clean house is worth it. Here’s how to clean your house step-by-step.
Gather Your Tools and Supplies
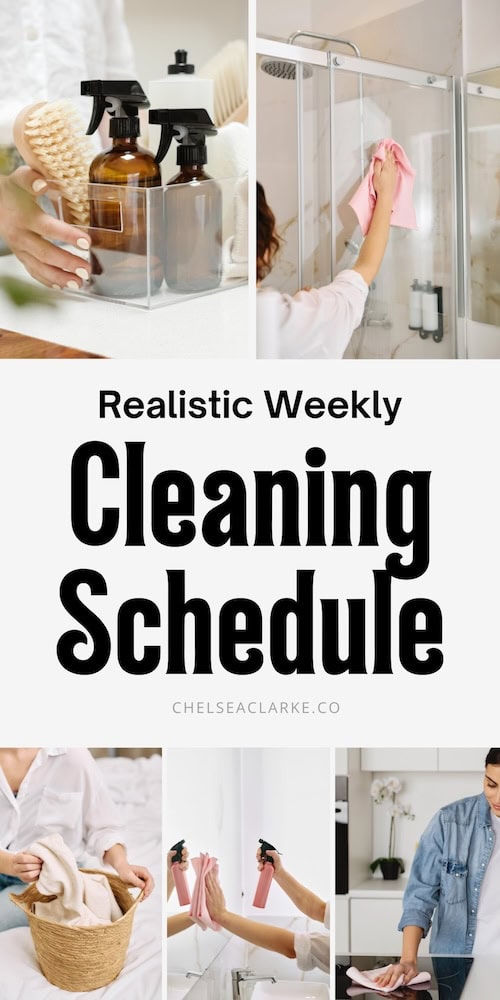
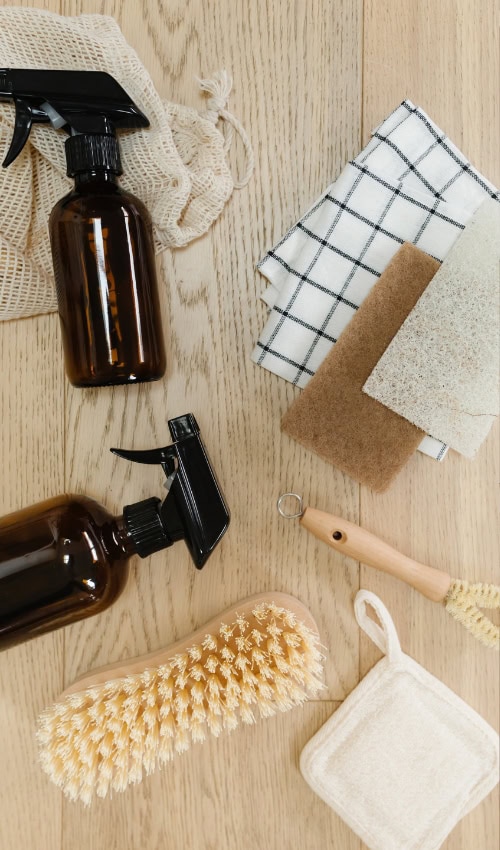
First things first, get all your cleaning supplies ready. No more running back and forth looking for a missing spray bottle or that one sponge you swear you bought. Think of it like going into battle: you need your vacuum, mop, microfiber cloths, all-purpose cleaner, and whatever else makes you feel like a cleaning ninja.
Task cleaning is my preferred choice and my Fitbit favors it as well. This refers to completing one chore, such as dusting, throughout the entire house, before starting the next.
Pro tip: grab a caddy or a tote to hold everything, so you’re not wasting time hunting for stuff. Keeping it all together will make you feel like a cleaning pro already! Place all your supplies in one cleaning caddy cleaning and choose one of the cleaning methods below.
This method is a lot more physical and I personally feel it’s faster. Zone cleaning is completing all tasks in each room before moving to the next.
One of my favorite all-purpose cleaners is from JAWS. Not only does it have a wonderful lavender scent, but it’s eco-friendly, as you just add water to refill pods!
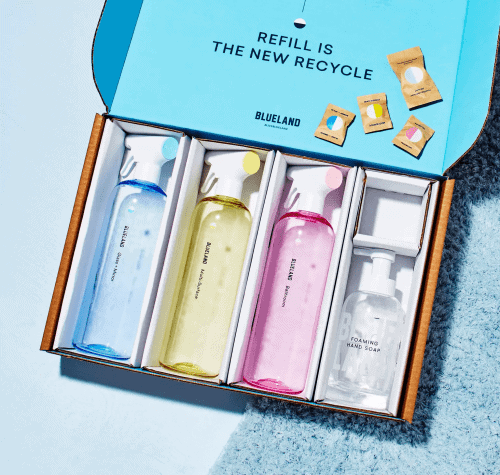
Also, if you’re sensitive to scents or need allergy or kid-friendly cleaning products, I highly recommend using Blueland products. They’re also eco-friendly and help you reduce plastic waste, as the refills come in tablets.
Plan and Prioritize Rooms
Now, don’t just dive in randomly. Have a game plan! Start with high-traffic areas first: the places that actually need it, like the kitchen and bathroom (because let’s be honest, that’s where the chaos usually is).
Save the easy or less-used rooms for last. And here’s a hot tip: always clean top to bottom. Start with dusting those shelves up high, and work your way down. No need to redo anything because of rogue dust falling all over freshly cleaned surfaces.
Don’t do this job alone! Hire cleaners, movers and general handypeople, via Task Rabbit!

What Is The Fastest Way To Deep Clean A House?
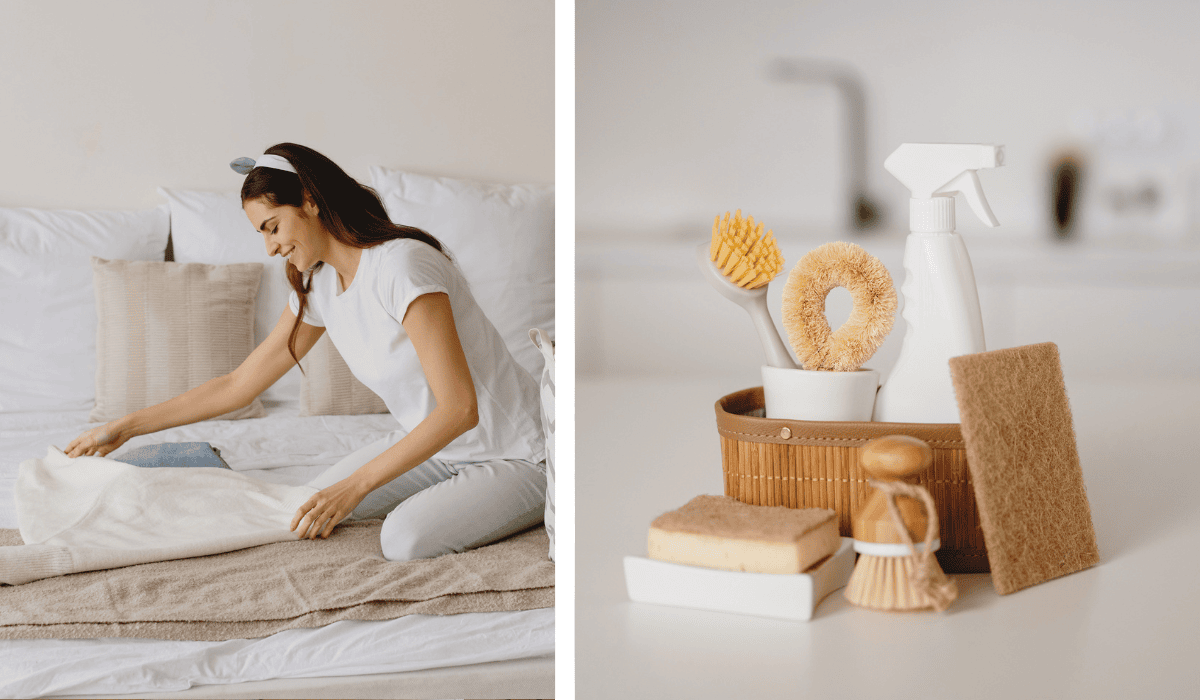
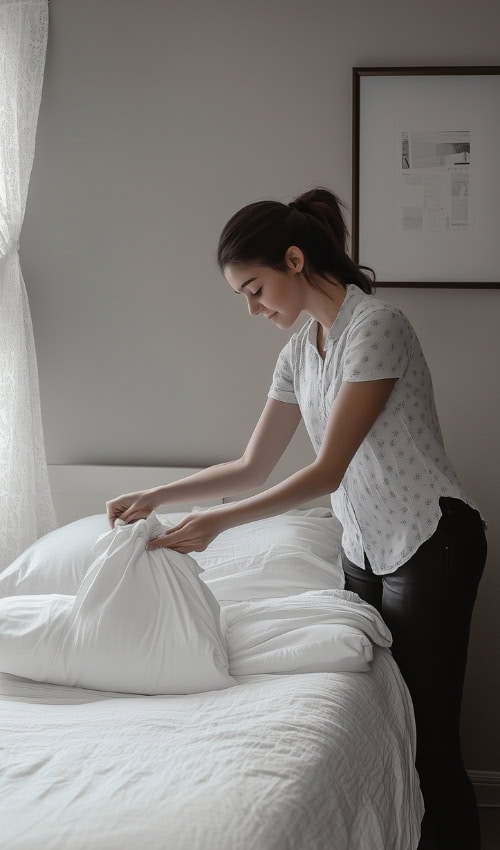
To make the best use of the time I begin my cleaning routine by stripping off the bed sheets and collecting all the dirty bath towels.
After tossing my linens into the washer machine, I sprinkle cleaners on surfaces in my bathrooms and kitchen to allow them the time needed to be effective. If you have never done this before, you will likely do a happy dance since you will find it will take you less than half the time to scrub those tubs.
Declutter Before You Clean
Ever tried cleaning a counter only to realize half the job is just moving stuff around? It’s time to declutter. Trust me, cleaning is a whole lot easier when you don’t have to work around piles of random junk.
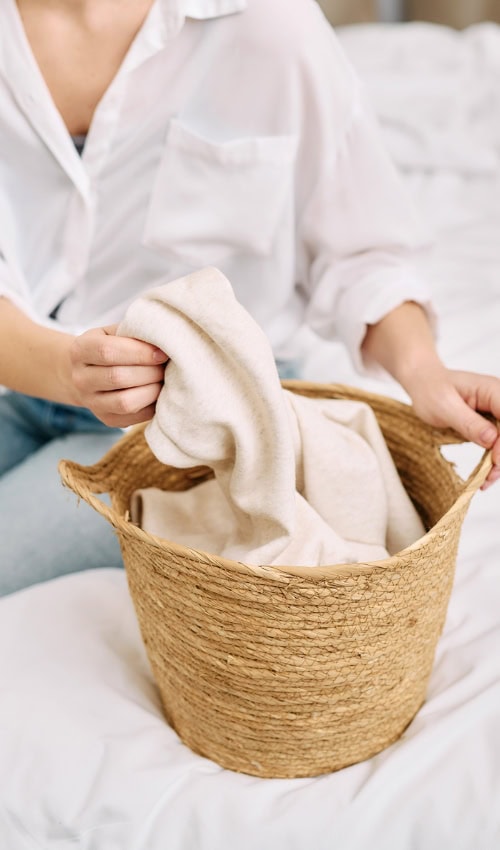
Keep a basket or bin with you to toss clutter as you go, and sort through it at the end. It’s like clearing the way for the real cleaning to happen. And yes, you can totally reward yourself with a mini “I survived the clutter” break once you’re done.
Use the Right Techniques for Each Area
Cleaning isn’t a one-size-fits-all deal. Each room needs its own TLC. In the living room, dust from top to bottom, wipe surfaces, then vacuum last so you’re not just spreading dust around.
In the kitchen, go for the appliances first, then counters, sink, and finally floors. In the bathroom, start with the mirrors and counters, then get to the toilet and floor.
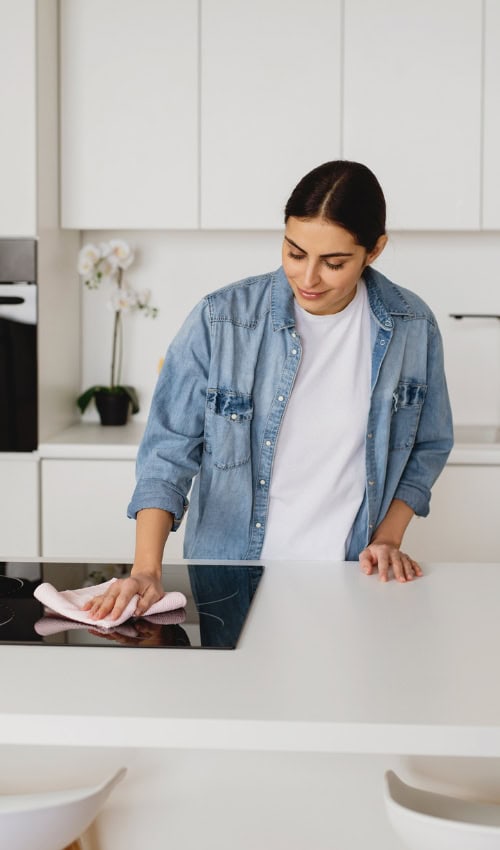
Pro tip: these are a game changer they’ll leave everything looking shiny without the streaks.
Use Cleaners Properly
Before you roll your eyes at this one, please hear me out…
Years ago, while consulting at a medical practice I had to undergo OSHA training classes. The instructor started her lecture by telling us that most medical facilities would likely fail a basic inspection.
Why? Well, in order for bacteria to be destroyed the cleaning solution used needs TIME to do its job.
The instructor used a bottle of this disinfectant as an example while teaching the class. As per the directions of that particular bottle, the solution needed to sit for a minimum of ten minutes.
She added that the solution must remain wet for it to be able to be effective, and a second application may be needed during the ten-minute waiting period. The same rules apply to products you use to clean your home. They need TIME to work and rushing them means more work for you!
Room-By-Room Cleaning Checklist
Clean All Surfaces
Proceed to the kitchen, and wipe down surfaces, cabinets, appliances, and the inside of the microwave.
Revisit surfaces containing cleaners and scrub like your in-laws are visiting for the first time. For areas you need to sanitize, use a natural but effective cleaner like Force of Nature:
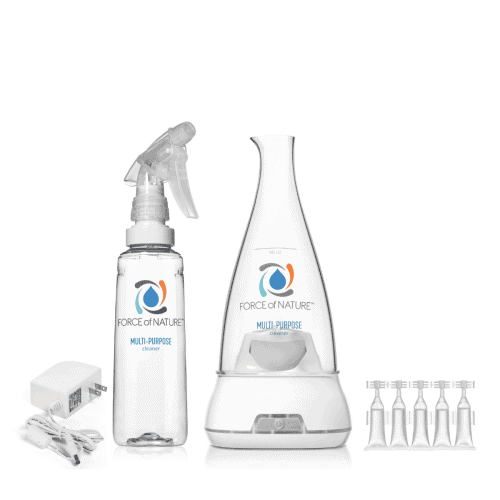
Trust me, you will not have to work too hard since your solutions have been busy working, breaking down grease and grime. To speed up your tasks even more, just sprinkle some baking soda and use these handy solutions on tubs and sinks.
Dust Your House
Start, at the highest point, and move from left to right across a room. This will prevent you from missing anything and having dust fall in areas that you have already cleaned.
I like to dampen my microfiber cloths with one or two sprays of my favorite smelling cleaner.
Clean Mirrors And Glass
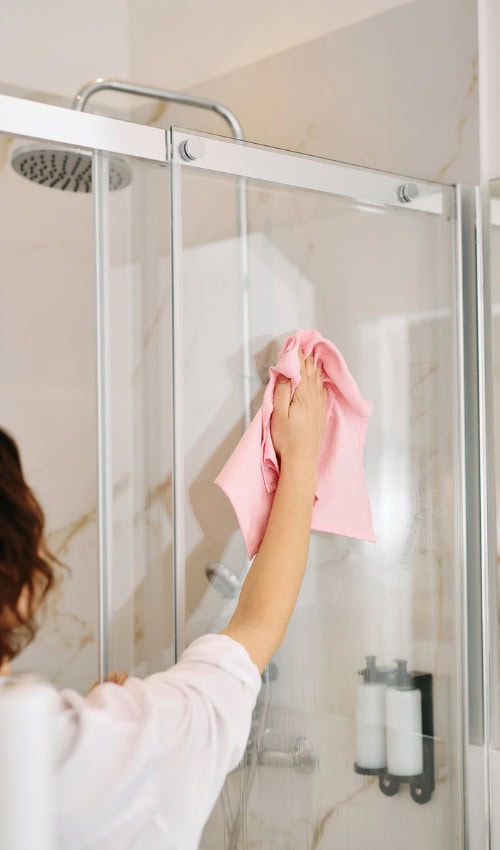
Wipe down mirrors and windows. For streak-free glass use two microfiber cloths. Use one to clean and a second to dry cloth to buff out any residue. Streaky glass is one of my MANY pet peeves and after trying almost everything on the market this is my recommendation.
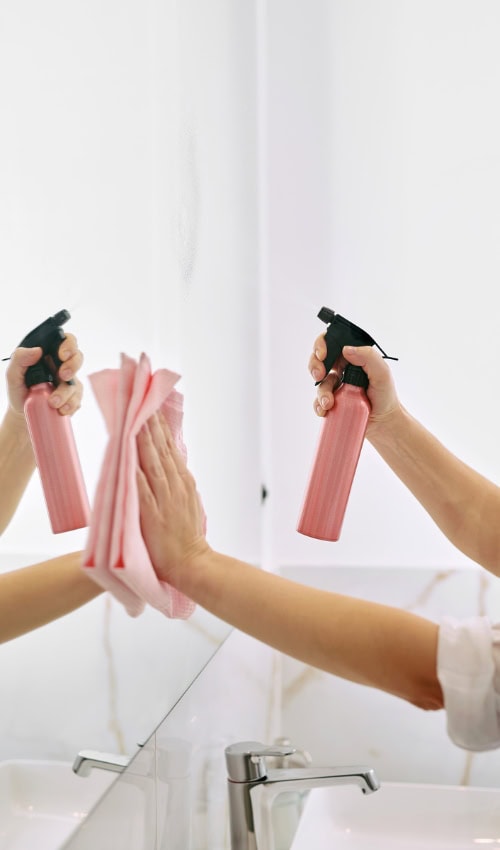
If you use this solution, you will only need one piece of cloth since the alcohol will prevent any residue from being left behind. “If” you still have steaks, you need to use less soap or essential oil.
DIY glass cleaner solution:
- 1/4 Cup Ofreubbing alcohol
- 1-2 Drops Of Dish Soap
- Fill The Remainder With Water
- Add 1-2 Drops Of Essential Oil For Fragrance
Don’t Forget To Clean Your Stove
After trying a number of cleaning solutions for my glass stove top what has worked best for me are baking soda and little water. Just rub the paste in a circular motion to remove any debris.
To clean your oven, set it to warm and then turn it off. Place ½ cup of this in an oven-safe bowl on the top shelf and a pan of boiling water on the shelf beneath it. Allow it to sit overnight with the door closed. Wipe it down in the morning with a damp cloth.
Pro Tip: To clean your oven glass door sprinkle baking soda, add a few tablespoons of boiling water and use a ball of aluminum foil as your scrubber.
Incorporate Time-Saving Strategies
Look, cleaning doesn’t have to take all day. Give yourself some shortcuts! For example, spray the cleaner and let it sit for a few minutes before wiping, it works harder, and you do less scrubbing.
Or multitask a bit: let things soak (like grimy stove burners) while you move to another area. And if you really want to feel like a pro, set a timer for each room. Nothing like a ticking clock to keep you moving and avoid getting sucked into Instagram instead.
Pay Attention to High-Touch Areas
Here’s where you can feel like a true cleaning hero, focus on those germy spots that get touched a million times a day. Think light switches, doorknobs, remote controls, and any other high-traffic surfaces.
Give them a quick disinfecting swipe, and you’ve instantly leveled up the cleanliness of your entire house. Pro tip: keep some disinfectant wipes on hand to make this even quicker; just wipe and go!
Finish with Floors: Vacuum and Mop
The grand finale! Sweep or vacuum first to get rid of all the dust and crumbs, then give those floors a nice mop for a polished look.
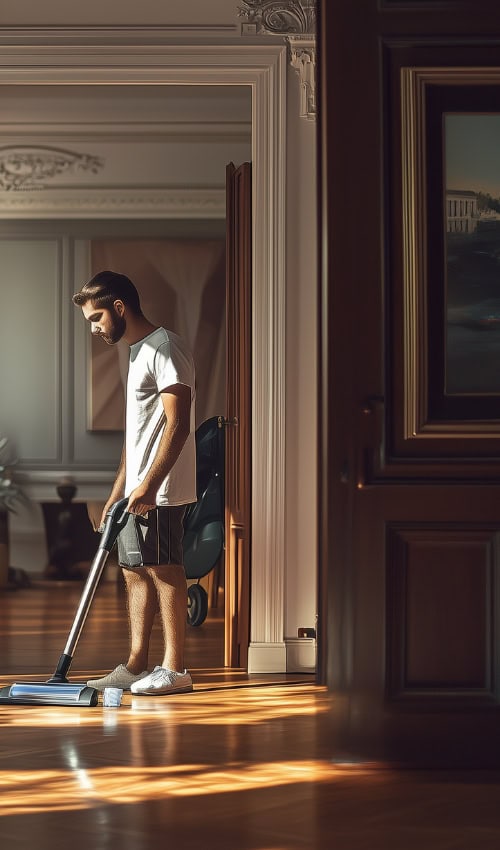
Did you know there was a correct way to Vacuum? First, vacuum a room horizontally and then vertically to get all trapped dirt. Also, remember not to rush since vacuuming slowly will allow for a deeper clean. If you’re pressed for time just keep moving. You’ll probably get the spots you missed next time.
For deep cleaning, I prefer a canister-style vacuum. This Dyson model is still going strong after ten years. However, I’ve heard amazing things about the Miele Vacuum!
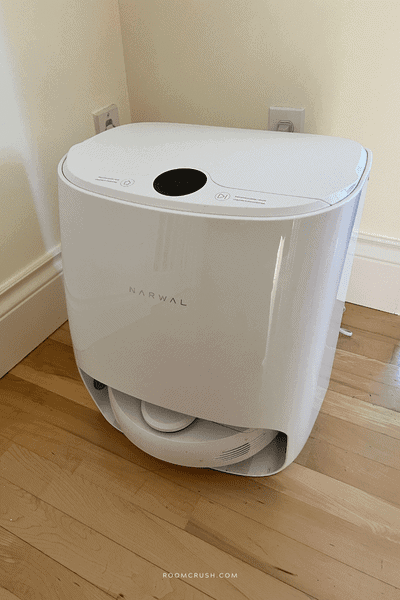
I also have and LOVE my Narwal robot vacuum, which does the job of both cleaning and mopping for me.
Since the floor is the most used surface of the house, it’s normal for the floor to quickly become dusty and dirty. Having a cordless vacuum will assist you in cleaning the floors more often. I tried a few less expensive corded options that had impressive suction power but the cord proved to be an annoying hassle.
Here’s my trick to make my house smell amazing every time I vacuum:
The Final Step In How To Clean Your House Is Mopping!
In my mind, mopping has always been associated with a heavy bucket splashing around with dirty water. No, thank you! You may want to use this spray mop but I highly recommend the Narwal!
If you’re dealing with different floor types, make sure you’re using the right cleaner for each one (because who wants to accidentally wreck their hardwood floors?). And a little insider trick: change your mop water often so you’re not just spreading dirty water around.
Final Touches for a Pro Look
Here’s where you go from “I cleaned” to “I cleaned like a pro.” Fluff up those couch cushions, straighten up the decor, maybe even light a candle. To keep my upholstery looking like new, I use this fabric defuser. This little tool will do wonders for your fabrics and sweaters too.
Bonus points if you open a window for a few minutes to get that fresh-air feel. It’s these little finishing touches that make everything look like you hired a cleaning service, even though you just rocked it yourself.
Also, don’t forget to remove the cushions on your sofa every now and then. Dirt can cause damage to the fibers and ruin your beautiful upholstery over time.
Pro-Level Cleaning Hacks for a Sparkling Home in No Time – Conclusion
We did it! Your guide to cleaning like an absolute pro. Not only is your place sparkling, but it feels like an actual oasis you can enjoy (until the next dust bunny invasion, at least).
The key is using these tips to work smarter, not harder, so you spend less time scrubbing and more time enjoying the clean. Now go ahead, admire your work, and take a well-deserved break, you’ve earned it!
Remember, a clean home is a happy home. Lastly, it doesn’t take much time for house cleaning to creep up on you, so having a routine will be helpful. Do you follow a schedule to clean your house or tackle tasks when they’re overdue?
Read this next: The best housewarming gifts to give this year.
Why Is A Clean Home Important?
Not only does a clean home look nice, and make you feel happy, but it is also healthier for you. After a severe asthma attack years ago, my doctor ordered me to remove all harsh chemicals from my home, and vacuum daily.
My allergist explained that when I used products such as bleach, the fumes would remain in my home. Once I removed the culprit irritants from my environment, my asthma improved.
Where Do I Start When Cleaning My House?
I believe that everyone should work smarter, not harder. When you create a process you are able to edit the steps to reach the best-desired results. My plan was to create a process in which my bathroom would be cleaner for longer.
Another benefit is when my bathroom does need a deep clean, the effort it takes to get things back to normal is minimal. The routine below helps ensure that my entire home is cleaned and no areas are left untouched!

